


Worried a new heat pump will be the wrong size, or that install day will bring surprise costs? A good heat pump installation in Kingston settles both questions before any equipment shows up. First, the contractor works out how much heating and cooling your home needs. Then they pick equipment to match and plan where each part goes.
Knowing each step makes the whole job easier to follow. The load calculation, equipment choice, refrigerant and electrical work, testing, and final walkthrough all have a purpose. Here’s what a well-planned heat pump installation looks like, from the first visit to install day.
What Happens During the Initial Heat Pump Evaluation?
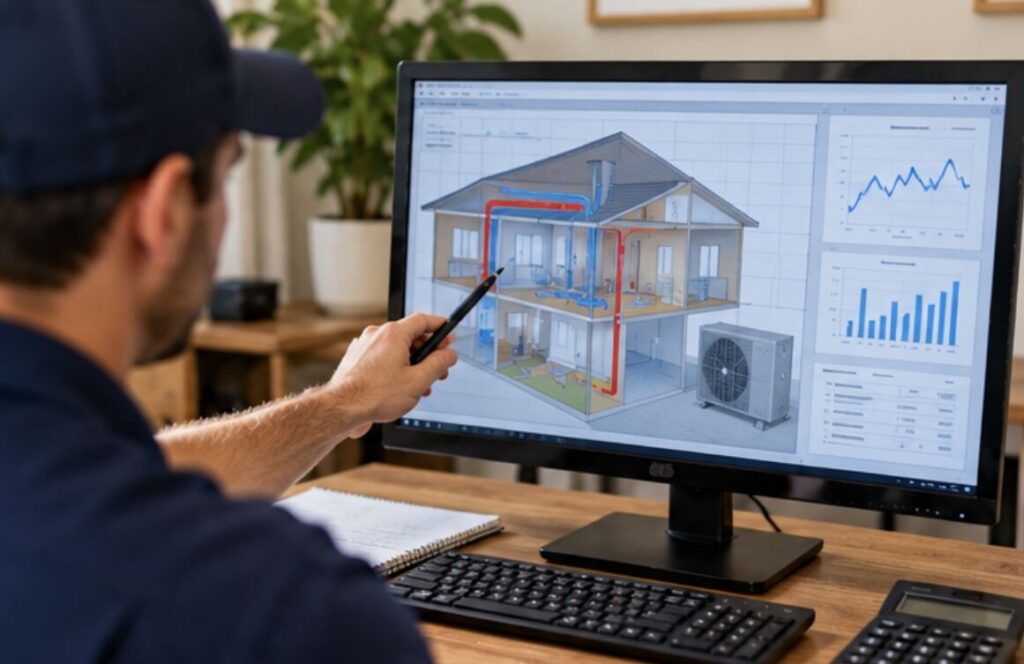
A heat pump installation starts with your house, not an equipment catalog. Before recommending anything, the contractor should look at size, insulation, windows, ductwork, and electrical service. They should also check your current heating system and any comfort complaints. An early-1900s Kingston home with radiators needs a different plan than a newer house that already has ducts.
During the evaluation, the contractor may review:
- Home size and layout: Determines how conditioned air needs to move through the property.
- Insulation and windows: Affect how quickly the home gains or loses heat.
- Existing ductwork: Helps determine whether the system can deliver the required airflow.
- Electrical service: Confirms the home can support the proposed equipment.
- Current heating system: Helps determine whether backup or supplemental heat is needed.
- Outdoor unit location: Provides adequate clearance and access for installation and service.
Use this visit to tell the contractor what bugs you about your current system. Maybe one bedroom is always cold, or the upstairs bakes in July. Those details should shape the design, not turn into new problems after install day.
After the visit, the contractor should be able to explain why one heat pump fits your home. If the talk is only about brand, tonnage, and price, you haven’t seen a real design process yet.
Why Is a Load Calculation Important Before Installation?
A heat pump has to be sized for what your home actually needs, not what the old unit was. A Manual J load calculation is the industry-standard math for that. It looks at your home’s size, insulation, windows, sun exposure, air leaks, and local weather. The result tells the contractor how much heating and cooling capacity to install.
| What the Calculation Considers | Why It Matters |
|---|---|
| Square footage and room dimensions | Establishes the home’s basic heating and cooling load |
| Windows and exterior doors | Accounts for areas where heat transfer occurs |
| Insulation | Affects how quickly the home gains or loses heat |
| Outdoor design temperatures | Helps account for local weather conditions |
| Air leakage | Estimates heat loss through infiltration |
| Building orientation | Considers solar exposure and heat gain |
Sizing matters even more with a heat pump, because it heats and cools all year. An oversized unit turns on and off too often in mild weather. An undersized one can fall behind on a January night, when the normal low at Wilkes-Barre/Scranton is about 20°F. Homes up in the Back Mountain see colder nights than the valley floor, so the math has to reflect that.
That makes the load calculation the basis for every equipment choice, not paperwork for the file. Ask how the proposed capacity was worked out. If the answer is square footage alone, ask for the full calculation.
How Is the Heat Pump Equipment Selected?
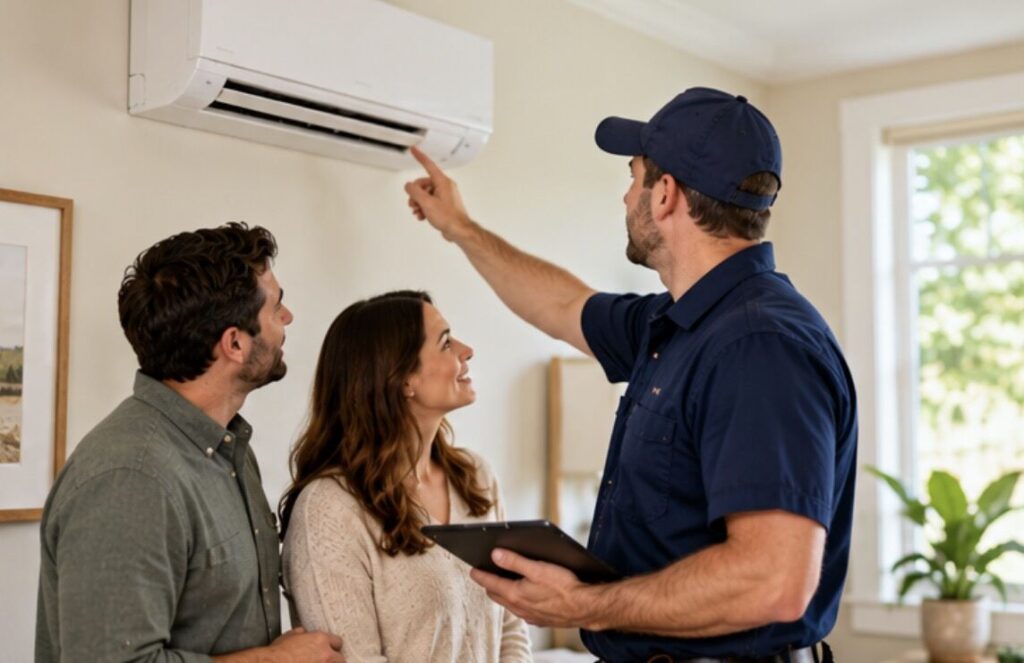
Once the load is known, the contractor picks equipment that fits it and works with your home’s setup. Heat pumps come in many sizes, efficiency levels, and styles. The cheapest or biggest model isn’t automatically the right one.
Matching Heating Capacity
Cooling capacity is only half the story. The contractor should check how much heat the system still delivers on cold days. That answer tells you whether you’ll need backup heat.
Checking Existing Ductwork
A ducted heat pump is only as good as the ducts it pushes air through. Small returns, undersized runs, loose sections, or leaks can hold back even great equipment.
Planning Backup Heat
Many designs include electric backup heat. Others keep your furnace as backup, which is called dual fuel. The contractor should explain when the backup turns on and what it does to your energy bill.
Considering Efficiency
Higher-efficiency equipment costs more upfront. Whether it pays off depends on how you use the system, local energy rates, incentives, and how long you’ll stay.
Selecting Compatible Controls
A heat pump’s thermostat runs heating, cooling, backup heat, and defrost. It has to match the equipment, so it shouldn’t be picked on its own.
The goal is one matched system, not a pile of parts. Your contractor should name the indoor and outdoor models, explain their ratings, and say why they fit your home.
Comparing proposals? Ask for the actual model numbers. Then you can check the maker’s specs yourself instead of trusting labels like “high efficiency” or “cold-weather heat pump.”
What Happens on Heat Pump Installation Day?
Install day is when the plan turns into real work inside and outside your home. The order changes for a new ducted system, a replacement, or a ductless install. In every case, the crew should protect your home, remove old equipment carefully, and follow the maker’s instructions.
A typical installation may include:
- Protecting the work area: Floors, walls, and nearby furnishings are protected before equipment removal begins.
- Removing existing equipment: The old AC or heat pump comes out. A furnace may stay if it’s becoming backup heat.
- Positioning the outdoor unit: The heat pump is installed on an appropriate base with required service clearances.
- Installing indoor equipment: The air handler or compatible indoor unit is connected to the distribution system.
- Connecting refrigerant lines: The refrigeration circuit is assembled according to manufacturer requirements.
- Completing electrical work: Wiring, disconnects, breakers, and controls are connected as required.
- Connecting drainage: Condensate and other applicable drainage components are routed correctly.
Sometimes the crew finds problems that were hidden until the old unit came out. Think rusted ductwork, a bad drain, a weak platform, or wiring issues. You should hear about those before any extra work starts, not on the final invoice.
A professional heat pump installation service is more than setting new equipment where the old one sat. The system has to be connected, tested, and adjusted. Otherwise you’re left with a unit that turns on but was never checked.
How Is a New Heat Pump Tested Before You Use It?
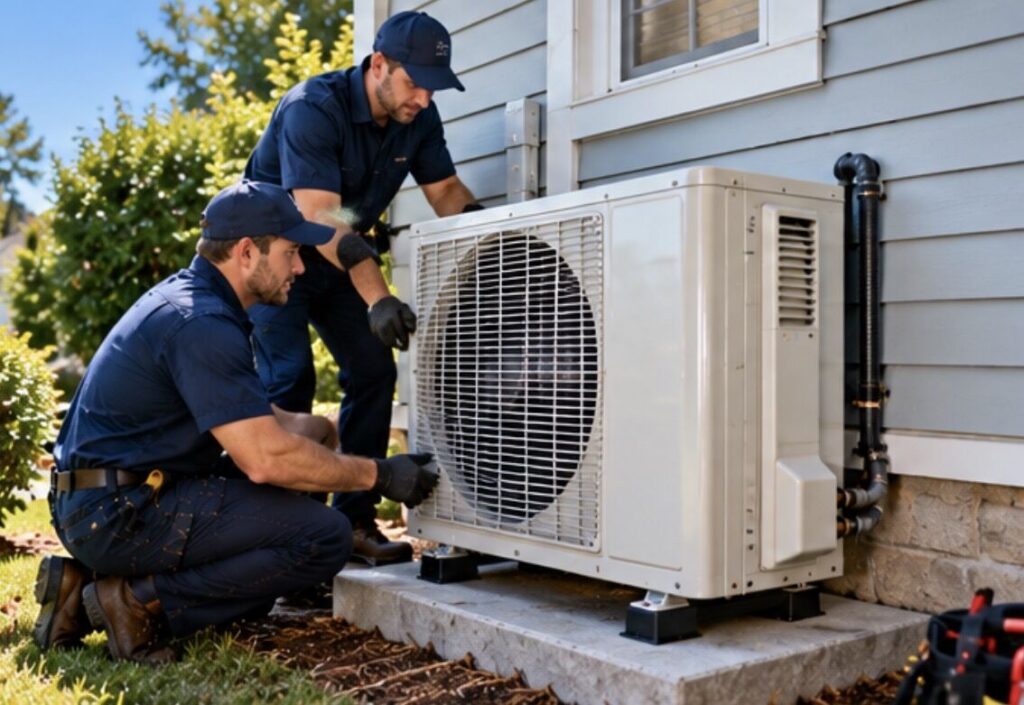
Final testing is one of the most important parts of the job. It proves the system actually works the way it should. A heat pump can look finished and still hide airflow, refrigerant, wiring, drain, or control problems.
Depending on the system, the technician should verify items such as:
- Refrigerant circuit: Connections are checked and the system is properly evacuated and charged.
- Airflow: Air movement is evaluated against the equipment’s requirements.
- Electrical operation: Voltage, connections, controls, and applicable safety components are checked.
- Heating operation: The system is operated in heating mode and response is verified.
- Cooling operation: Cooling operation and temperature performance are checked.
- Condensate drainage: Drainage is tested to reduce the chance of water problems.
- Thermostat controls: Commands for heating, cooling, fan operation, and applicable auxiliary heat are confirmed.
Before leaving, the technician should walk you through thermostat settings, filter access, and maintenance. They should also explain what’s normal in cold weather. Steam rising from the outdoor unit during defrost is normal, especially on damp valley mornings. If ice builds up and stays, call for service. Never chip it off or pour hot water on it.
Don’t judge the job by how fast warm or cool air reaches the vents. Proper startup involves measurements you can’t see once the panels close. Those checks are what turn new equipment into a system that runs right.
How Long Does a Kingston Heat Pump Installation Take?
Heat pump installation time depends on your current system and how much needs to change. A simple replacement with good access can often be done in one day. Projects with new ductwork, electrical changes, new line sets, or tight access take longer.
| Project Condition | Potential Effect on Installation |
|---|---|
| Straightforward equipment replacement | Fewer modifications and shorter installation |
| Difficult attic or crawlspace access | More labor and preparation |
| Ductwork modifications | Adds fabrication and installation work |
| Electrical upgrades | May require additional labor and inspection |
| New refrigerant line set | Adds material and installation time |
| Drainage modifications | Requires additional preparation |
| Major equipment relocation | More extensive installation scope |
Plan the day by asking the contractor a few questions before the crew arrives. When will work start? Does someone need to be home? Which rooms will they need, and will you have heat during the install?
Surprises can still change the schedule. A good contractor tells you right away instead of leaving you guessing. A detailed proposal and a walkthrough before install day head off most of them.
The same factors drive cost. Most air-source heat pump installs run about $6,000 to $14,000, and new ductwork adds $2,000 or more. Your written quote sets the exact number.
FAQs
Does a heat pump replace my furnace?
A heat pump can replace a furnace, depending on your home and the system design. Some homes run the heat pump with electric backup heat. Others keep the furnace as backup, which is called dual fuel. The right setup depends on your home’s heat loss and the equipment you choose.
Do I need new ductwork for a heat pump?
You may not need new ductwork for a heat pump. If your ducts are the right size and in good shape, they can often be reused. Older ducts were often sized for a furnace, though, and a heat pump may need more airflow. A contractor should measure airflow and check the ducts before deciding.
Can I stay home during a heat pump installation?
Most homeowners can stay home during a heat pump installation. Expect some noise, open doors, and a few hours without heating or cooling. The crew needs clear access to the indoor unit, the outdoor spot, and the electrical panel. Ask your contractor which rooms they’ll use so you can plan your day.
Why does a new heat pump blow cooler air than my old furnace?
A heat pump heats with a steady stream of milder air, not short blasts of hot air like a furnace. The air at the vents often feels cooler to your hand, typically around 90 to 110°F. Your house still reaches the thermostat setting. It just gets there with longer, gentler run times.
What should I receive after installation?
After installation, ask for the model and serial numbers, warranty papers, and operating instructions. Ask for the startup test results too. You should also know which filter to buy, how the thermostat works, how often to schedule maintenance, and who to call if something goes wrong.
What Makes a KO HVAC Heat Pump Install Different?
We treat every heat pump installation as a whole-home project, not a box swap. We start with a load calculation, check your ductwork and electrical panel, and explain the full scope first. You’ll know the model numbers, the price, and the plan before anyone picks up a tool.
We’re a Mitsubishi Electric Elite Diamond Contractor and a Carrier dealer, so you can compare two strong lines side by side. Our co-owner Cody sees Mitsubishi as the most reliable premium heat pump on the market. We’ll still recommend what fits your home, not just a brand. Our heat pump installation service also comes with 0% financing for 36 months, with approved credit.
Thinking about a heat pump for your Kingston home? Give us a call or book online, and we’ll start with a walkthrough of your house. You’ll get a clear plan and a written quote before you decide anything.